Raspberry Pi 5: The Next Generation of Single-Board Computing
The Raspberry Pi 5 elevates single-board computing with a powerful new processor, increased RAM options, and enhanced I/O capabilities, making it ideal for complex projects and desktop replacement.
The Raspberry Pi 5 represents a significant leap forward for the popular single-board computer family. Building on the legacy of its predecessors, it introduces a substantially more powerful System-on-Chip (SoC) and a host of architectural improvements designed to boost performance and expand its use cases. This board is not just an incremental update; it's a re-imagining of what a Raspberry Pi can be, pushing the boundaries of what's possible in a compact, affordable form factor.
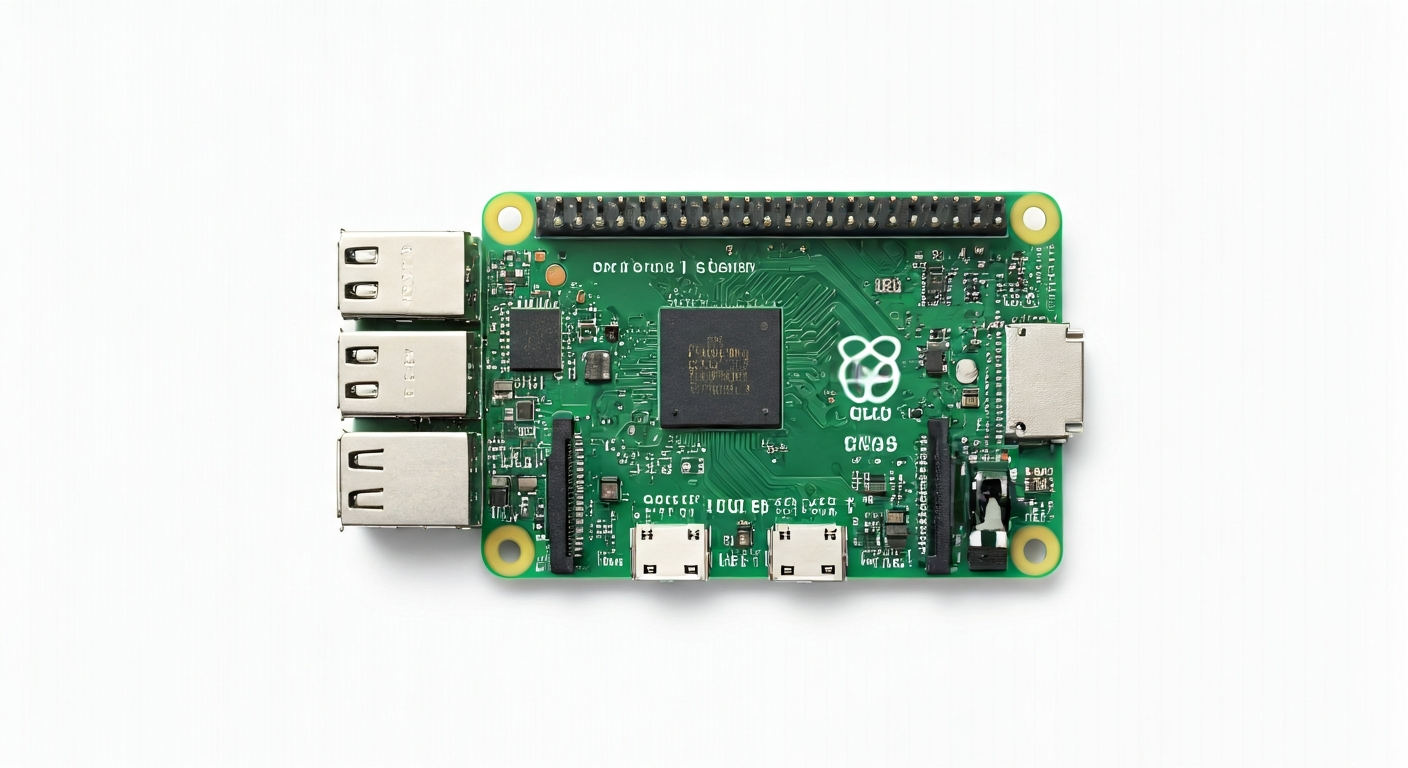
At the heart of the Raspberry Pi 5 is the Broadcom BCM2712, a quad-core 64-bit Arm Cortex-A76 processor clocked at 2.4GHz. This is a considerable upgrade from previous generations, offering a dramatic increase in computational power for demanding applications, faster data processing, and smoother multitasking. The SoC also integrates a VideoCore VII GPU, capable of driving high-resolution displays and accelerating graphics performance, alongside dedicated hardware for multimedia.
Positioned as the flagship model in the Raspberry Pi lineup, the Raspberry Pi 5 is aimed at a broad audience, from students and hobbyists to professional embedded engineers and even those seeking a low-cost desktop computer. Its enhanced performance makes it suitable for more ambitious projects such as AI inference, machine learning, advanced robotics, home media servers, and complex IoT gateways. The increased I/O capabilities, including PCIe support, open up new avenues for expansion and custom hardware integration.
The history of the Raspberry Pi is one of democratizing computing and making embedded systems accessible. The Raspberry Pi 5 continues this mission with a more powerful and versatile platform. While previous models were often limited by their processing power for certain tasks, the Pi 5 addresses these limitations, making it a compelling choice for users who have outgrown the capabilities of older Pis or are looking for a robust platform for desktop-like experiences and computationally intensive embedded applications.
Specifications
| Microcontroller / SoC | Broadcom BCM2712 |
| Architecture | 64-bit Quad-core Arm Cortex-A76 |
| Clock speed | 2.4GHz |
| Flash / Storage | MicroSD card slot (up to 128GB officially supported, often more in practice) |
| RAM / SRAM | 4GB or 8GB LPDDR4X-4267 SDRAM |
| Operating voltage | 3.3V |
| Digital I/O pins | 40 GPIO pins |
| Analog / ADC | 2x 12-bit ADC inputs (on GPIO 24/25) |
| PWM | Up to 6 PWM channels (on specific GPIO pins) |
| Connectivity | Gigabit Ethernet, 2.4GHz and 5.0GHz IEEE 802.11ac wireless, Bluetooth 5.0 / BLE |
| USB | 2x USB 3.0 ports (5Gbps), 2x USB 2.0 ports |
| Power input | 5V DC via USB-C (minimum 5A recommended for full performance), 5V DC via 4-pin JST connector |
| Dimensions | 85mm x 56mm |
Pinout & pin functions
| Pin | Function |
|---|---|
| 3V3 | Power output (3.3V) |
| GND | Ground |
| G0 | GPIO 0 |
| G1 | GPIO 1 |
| G2 | GPIO 2 |
| G3 | GPIO 3 |
| G4 | GPIO 4 |
| G5 | GPIO 5 |
| G6 | GPIO 6 |
| G7 | GPIO 7 |
| G8 | GPIO 8 |
| G9 | GPIO 9 |
| G10 | GPIO 10 |
| G11 | GPIO 11 |
| G12 | GPIO 12 (PWM0) |
| G13 | GPIO 13 |
| G14 | GPIO 14 (UART0 TX) |
| G15 | GPIO 15 (UART0 RX) |
| G16 | GPIO 16 |
| G17 | GPIO 17 |
| G18 | GPIO 18 (PWM1) |
| G19 | GPIO 19 (I2C1 SDA) |
| G20 | GPIO 20 (I2C1 SCL) |
| G21 | GPIO 21 |
| G22 | GPIO 22 |
| G23 | GPIO 23 |
| G24 | GPIO 24 (ADC0) |
| G25 | GPIO 25 (ADC1) |
| G26 | GPIO 26 |
| G27 | GPIO 27 |
| G28 | GPIO 28 |
| G29 | GPIO 29 |
| G30 | GPIO 30 |
| G31 | GPIO 31 |
| G32 | GPIO 32 |
| G33 | GPIO 33 |
| G34 | GPIO 34 |
| G35 | GPIO 35 |
| G36 | GPIO 36 |
| G37 | GPIO 37 |
| G38 | GPIO 38 |
| G39 | GPIO 39 |
| G40 | GPIO 40 |
| G41 | GPIO 41 |
| G42 | GPIO 42 |
| G43 | GPIO 43 |
| G44 | GPIO 44 |
| G45 | GPIO 45 |
| G46 | GPIO 46 |
| G47 | GPIO 47 |
| G48 | GPIO 48 |
| G49 | GPIO 49 |
| G50 | GPIO 50 |
| G51 | GPIO 51 |
| G52 | GPIO 52 |
| G53 | GPIO 53 |
| G54 | GPIO 54 |
| G55 | GPIO 55 |
| G56 | GPIO 56 |
| G57 | GPIO 57 |
| G58 | GPIO 58 |
| G59 | GPIO 59 |
| G60 | GPIO 60 |
| G61 | GPIO 61 |
| G62 | GPIO 62 |
| G63 | GPIO 63 |
| RUN | System reset button input |
| 5V | Power output (5V) |
| GND | Ground |
| GND | Ground |
| 5V | Power output (5V) |
| CAM1 | Camera interface 1 |
| CAM2 | Camera interface 2 |
| DSI | Display Serial Interface (DSI) |
| SPI0 MOSI | SPI0 MOSI (GPIO 10) |
| SPI0 MISO | SPI0 MISO (GPIO 9) |
| SPI0 SCK | SPI0 SCK (GPIO 11) |
| SPI0 CS | SPI0 CS (GPIO 7) |
| I2C0 SDA | I2C0 SDA (GPIO 2) |
| I2C0 SCL | I2C0 SCL (GPIO 3) |
| UART1 TX | UART1 TX (GPIO 14) |
| UART1 RX | UART1 RX (GPIO 15) |
| PWM2 | PWM2 (GPIO 13) |
| PWM3 | PWM3 (GPIO 19) |
| ADC0 | ADC0 (GPIO 24) |
| ADC1 | ADC1 (GPIO 25) |
| JTAG TDO | JTAG TDO |
| JTAG TDI | JTAG TDI |
| JTAG TCK | JTAG TCK |
| JTAG TMS | JTAG TMS |
| RTC BAT | RTC Battery Input |
| FAN | Fan Connector |
Wiring & circuit basics
Powering the Raspberry Pi 5 requires a stable 5V DC supply capable of delivering at least 5A for full performance, especially when using power-hungry peripherals or the USB 3.0 ports. The primary power input is via the USB-C port. It's crucial to use a high-quality USB-C power supply designed for sufficient current output. An alternative power input is available via a 4-pin JST connector, often used for more industrial or embedded applications where a dedicated power rail is available. Avoid powering the Pi through its GPIO pins, as they are not designed for main power input and can be damaged.
The Raspberry Pi 5 operates at a logic level of 3.3V. This means that any sensors, LEDs, or other components you connect directly to the GPIO pins must also be compatible with 3.3V logic. Connecting 5V components directly to GPIO pins can cause permanent damage to the Raspberry Pi. If you need to interface with 5V devices, you will need a logic level shifter to translate the voltage levels between the Pi and the peripheral. Always ensure your common ground connection is established between the Pi and any connected devices.
For a simple LED circuit, connect a current-limiting resistor (typically 220-330 ohms for a standard LED) to a GPIO pin, such as GPIO 17. Connect the other end of the resistor to the anode (longer leg) of an LED. Connect the cathode (shorter leg) of the LED to a GND pin on the Raspberry Pi. When the GPIO pin is set to HIGH (3.3V), current will flow through the resistor and LED, illuminating it. This demonstrates basic digital output and current limiting principles.
Programming & getting started
The Raspberry Pi 5 is primarily programmed using Raspberry Pi OS, a Debian-based Linux distribution. You can develop applications using various programming languages like Python (highly recommended for beginners and rapid prototyping), C/C++, and Node.js. For Python development, the default installation includes the Thonny IDE, which is user-friendly for beginners. To upload your first program (e.g., a Python script to blink an LED), you would typically write the script in an editor, save it, and then run it from the terminal using `python your_script_name.py`. For more advanced embedded development, you can also explore frameworks like PlatformIO or use cross-compilation toolchains.
For users familiar with the Arduino ecosystem, it's possible to program the Raspberry Pi 5 using the Arduino IDE or PlatformIO, though this requires setting up specific board support packages. This allows you to leverage existing Arduino libraries and code. Another popular option is MicroPython or CircuitPython, which provide a Python-like environment directly on the microcontroller, enabling direct hardware control. Flashing MicroPython/CircuitPython typically involves writing the firmware image to a MicroSD card, which the Pi then boots from.